 Pin Recipe
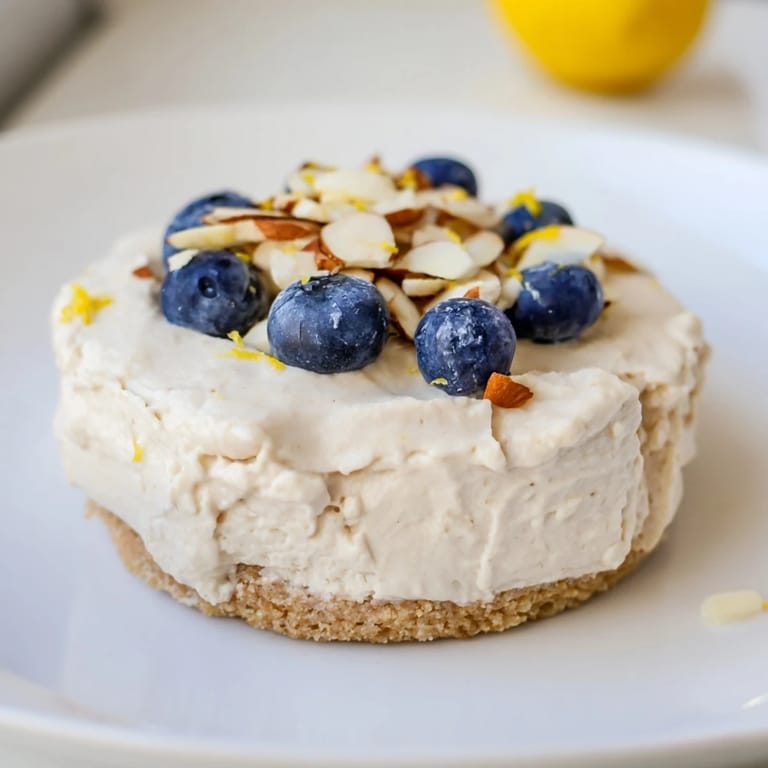
 I discovered these protein cheesecake cups on a Saturday morning when I was desperately trying to make my post-workout snack less boring. My usual protein shake felt repetitive, and I wanted something that actually tasted like dessert without guilt. I grabbed what was in my fridge—cream cheese, Greek yogurt, and protein powder—and decided to build a no-bake cup situation with a buttery oat base. That first bite was a revelation: creamy, tangy, sweet, and packed with protein all in one little package.
I made these for my friend who'd just started taking fitness seriously, and watching her face light up when she realized these were healthy genuinely made my day. She'd been stuck in the mentality that healthy food had to taste boring, and this one little cup completely shifted her perspective. Now she makes them every week and swears they're better than anything she could order at a fancy dessert shop.
What's for Dinner Tonight? 🤔
Stop stressing. Get 10 fast recipes that actually work on busy nights.
Free. No spam. Just easy meals.
Ingredients
- Oat flour: The foundation of your crust—use certified gluten-free oats if you need to avoid gluten, and pulse whole oats in a food processor if you can't find the flour version.
- Almond butter or peanut butter: This binds the base and adds richness; natural nut butter works best because the oils help hold everything together.
- Honey or maple syrup: Just enough sweetness to make the crust taste indulgent while keeping it simple and clean.
- Reduced-fat cream cheese: Softening it first is non-negotiable—cold cream cheese will clump and won't blend smoothly with the yogurt.
- Greek yogurt: Plain is essential here; flavored yogurt throws off the balance and can make the filling taste artificial.
- Vanilla whey protein powder: Two scoops gives you serious protein without an overpowering powder taste; the vanilla flavor integrates seamlessly.
- Lemon zest: Optional but transformative—it brightens everything and prevents the filling from tasting one-dimensional.
Instructions
- Build the base:
- Mix your oat flour, nut butter, honey, and a pinch of salt until the texture reminds you of damp sand—you want distinct little crumbles, not a wet paste. If it seems too dry, add a touch more nut butter; if it's soggy, sprinkle in a bit more flour.
- Press and set:
- Divide the mixture evenly among six muffin liners and press down firmly with your fingers or the bottom of a measuring cup to create a solid, compact base that won't crumble when you spoon the filling on top.
- Blend the filling:
- Beat your softened cream cheese for a full minute until it's completely smooth, then fold in the Greek yogurt, protein powder, honey, vanilla, and lemon zest. The mixture should be thick but pourable, with no visible lumps or streaks of cream cheese.
- Fill and top:
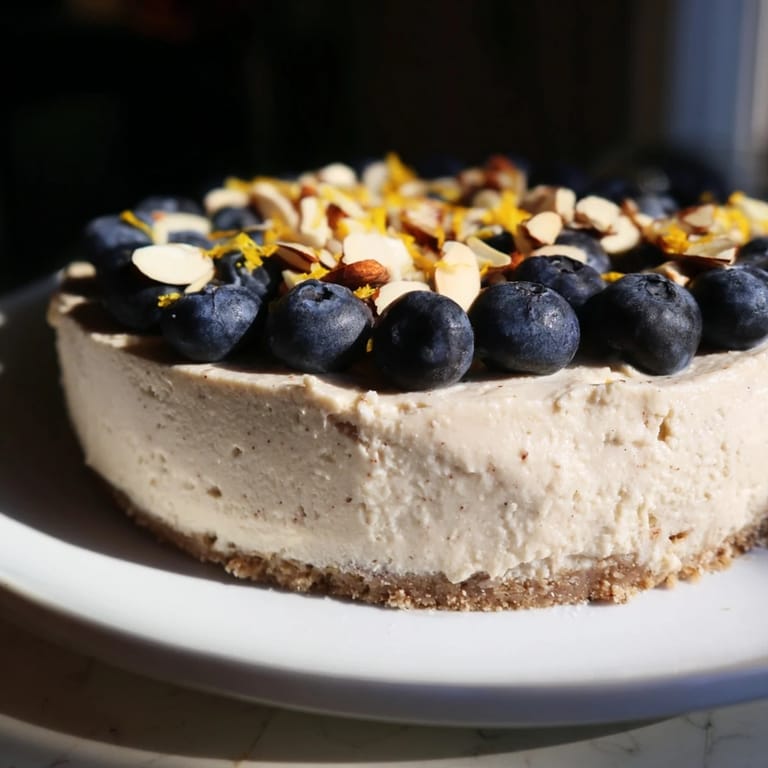
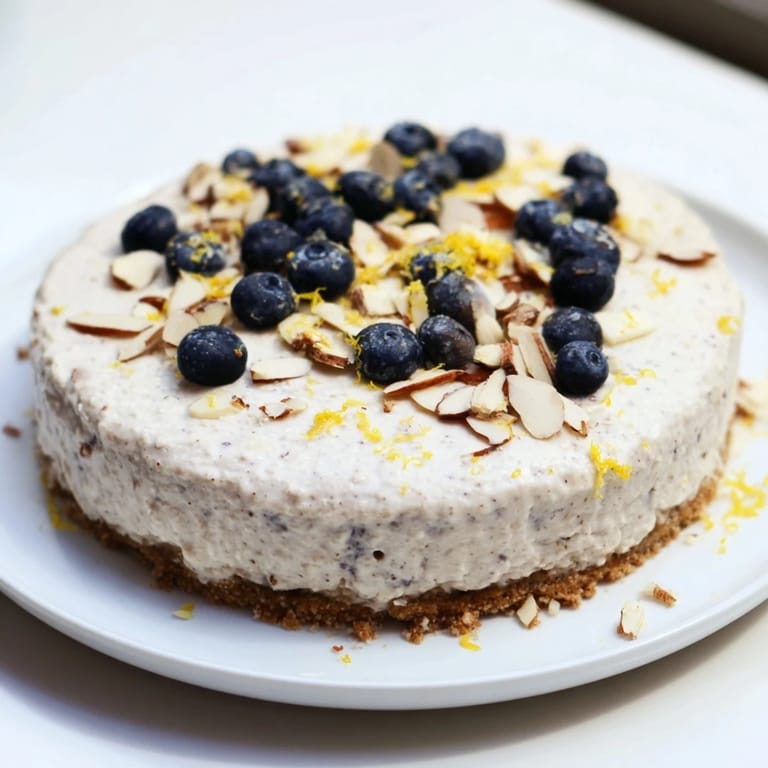
- Spoon the cheesecake mixture evenly over your bases, smooth the tops with a spatula, then add whatever toppings call to you—fresh berries, nuts, dark chocolate shavings—or leave them naked for simplicity.
- Chill until firm:
- Pop them in the refrigerator for at least 2 hours; overnight is even better because the flavors meld and the texture becomes impossibly creamy. They'll keep for up to 5 days in the fridge.
 Pin Recipe
 There's something special about having a legitimately healthy dessert sitting in your fridge that you can grab whenever a craving hits. It changed how I think about snacking between meals.
Flavor and Customization Magic
The beauty of this recipe is how flexible it really is. Want a cookies-and-cream vibe? Use chocolate protein powder and crumble some cookies into your base. Feeling tropical? Skip the lemon zest and fold in a bit of coconut extract, then top with fresh mango and shredded coconut. The cream cheese and yogurt are forgiving enough that you can play around without totally breaking the recipe. I've made these with everything from espresso powder to peanut butter swirl variations, and they've all been delicious.
Texture Truth
The magic of these cups is all in contrast. You want the base to stay slightly crumbly while the filling becomes silky and smooth after chilling. The Greek yogurt does a lot of the heavy lifting here—it keeps the filling from feeling heavy while the cream cheese gives you that signature tang and richness. If you find your filling too thick to spoon, just let it warm up at room temperature for 10 minutes. If it's too loose after chilling, you might have used full-fat yogurt by accident, which changes the ratio.
Storage and Making Ahead
I've made these for meal prep and they hold up beautifully for a full week in the fridge, which makes them perfect for anyone trying to stay consistent with their protein goals. The no-bake nature means you can literally make them on a Sunday and grab them all week. They also freeze surprisingly well if you want to batch-make a bunch—just thaw them in the fridge for 30 minutes before eating for the best texture.
- Store them in an airtight container so they don't absorb fridge smells, and keep them away from your fresh herbs or strong-smelling foods.
- If you're taking these somewhere, keep them in a cooler with an ice pack because they need to stay cold to maintain their structure.
- Top with berries or chocolate right before eating rather than hours ahead, or they'll get soggy.
 Pin Recipe
 These little cups became my answer to the question I asked myself every afternoon at 3 PM. Now they're part of my regular rotation, and honestly, they taste fancy enough to serve to guests who have no idea they're basically health food.
Recipe FAQs
- → What can I use for a gluten-free base?
Almond flour or crushed gluten-free cookies make excellent gluten-free options for the crunchy base.
- → How long should I chill the cups?
Refrigerate the cups for at least 2 hours to ensure they set properly and achieve a firm texture.
- → Can I make a vegan version?
Yes, substitute dairy cream cheese and yogurt with plant-based varieties and use vegan protein powder.
- → What toppings work best?
Fresh berries, chopped nuts, and dark chocolate shavings add flavor and texture as optional toppings.
- → How can I adjust the sweetness?
Modify the amount of honey or maple syrup in both the base and filling to suit your preferred sweetness level.
- → What tools are needed to prepare these cups?
You’ll need mixing bowls, a hand mixer or whisk, a muffin tin with liners, and a spatula for easy preparation.