 Pin Recipe
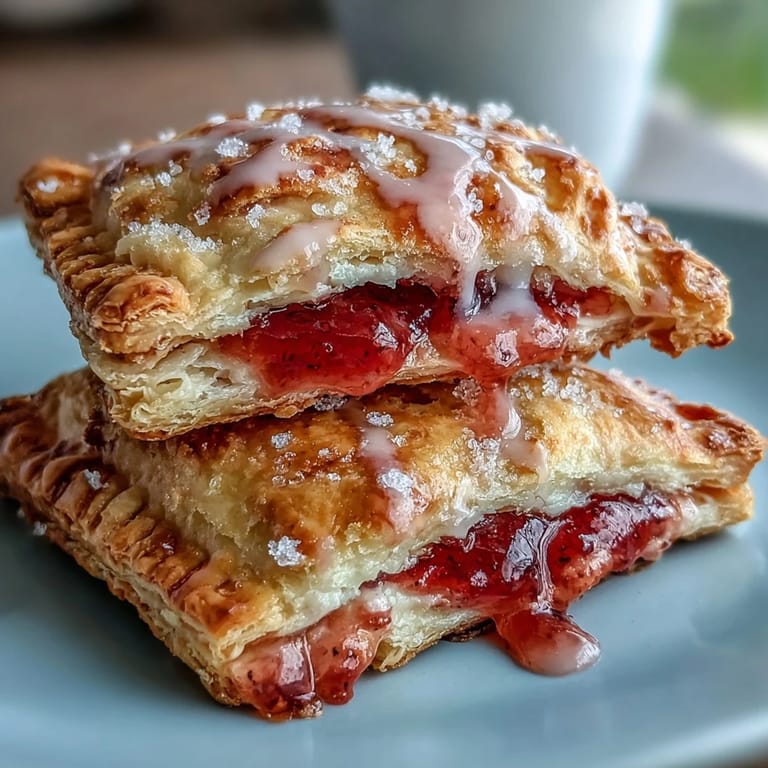
 My sister came home from a trip to Puerto Rico with a jar of guava paste and half-jokingly challenged me to do something unexpected with it. I'd never been particularly adventurous with breakfast pastries—Pop-Tarts had always felt like they belonged to childhood, something you grabbed without thinking. But standing in my kitchen with that vibrant pink paste and cream cheese softening on the counter, I realized I could build something that felt grown-up yet playful, tropical yet comforting. That afternoon, these guava cheese pop tarts were born, and they've become the thing people ask me to bring to potlucks.
I made a batch of these one Friday morning when my best friend texted that she was coming over in an hour with her kids. Instead of panicking, I realized I had everything I needed, and watching those little faces light up when they bit through the glossy glaze into the flaky layers felt like a small victory. That moment taught me that homemade doesn't have to mean stressful—it just means thoughtful.
What's for Dinner Tonight? 🤔
Stop stressing. Get 10 fast recipes that actually work on busy nights.
Free. No spam. Just easy meals.
Ingredients
- All-purpose flour: The backbone of your pastry—keep it cool and handle it gently so the butter stays distinct and creates those beautiful flaky layers.
- Cold unsalted butter: This is non-negotiable; warm butter will make the dough greasy instead of tender. I usually cut it into cubes and keep it in the freezer until the last minute.
- Ice-cold water: Mix it in slowly and stop as soon as the dough comes together—overworking it will make your pastry tough instead of crispy.
- Guava paste: Look for the dense, solid kind rather than thin jam; it holds its shape and delivers that signature sweet-tart punch.
- Cream cheese: The secret that keeps these from tasting like a standard pastry; it adds richness and a subtle tang that balances the guava's sweetness.
- Powdered sugar: Use it in both the filling and the glaze for a smooth, refined finish.
- Egg wash: This gives the pastries that glossy, professional golden-brown look and helps seal the edges.
- Milk for the glaze: Adjust the amount depending on whether you prefer a thick coating or something more drippy.
Instructions
- Make the pastry dough:
- Whisk your flour, sugar, and salt together, then add the cold cubed butter and work it in with a pastry blender or your fingertips until it looks like coarse breadcrumbs—this texture is your guarantee of flakiness. Drizzle in the ice water slowly, mixing just until everything comes together into a shaggy dough.
- Chill the dough:
- Flatten your dough into two disks, wrap them in plastic, and let them rest in the fridge for at least 30 minutes (this prevents shrinking during baking). If you're short on time, even 20 minutes helps, but don't skip this step entirely.
- Prepare the filling:
- While the dough chills, blend your softened cream cheese with powdered sugar and vanilla until it's completely smooth and free of lumps. This mixture should taste slightly sweet and tangy.
- Roll and cut the pastry:
- On a lightly floured surface, roll one dough disk to about the thickness of a coin, then cut it into eight rectangles roughly 3 by 4 inches. You should be able to get all eight pieces from one disk.
- Fill the pop tarts:
- Place a small teaspoon of guava paste in the center of four rectangles, then add a teaspoon of cream cheese mixture next to it, leaving a half-inch border all around. This prevents the filling from leaking out during baking.
- Seal the pastries:
- Brush the border of each filled rectangle with beaten egg, top with another rectangle, and press the edges firmly to seal. Run a fork around the perimeter to crimp and decorate, which also reinforces the seal.
- Second chill:
- Transfer your assembled pop tarts to a parchment-lined baking sheet and refrigerate for 10 minutes so the pastry firms up again. This helps them hold their shape in the oven.
- Bake until golden:
- Preheat your oven to 375°F, brush each pop tart with a thin layer of egg wash, prick the tops with a fork to let steam escape, and bake for 22 to 25 minutes until they're a deep golden brown. The kitchen will smell absolutely incredible.
- Cool and glaze:
- Let the pop tarts cool completely on a wire rack before glazing (this prevents the glaze from melting off). Mix your powdered sugar, milk, and vanilla until it's pourable, add food coloring if you like, and drizzle or spread it over each one.
 Pin Recipe
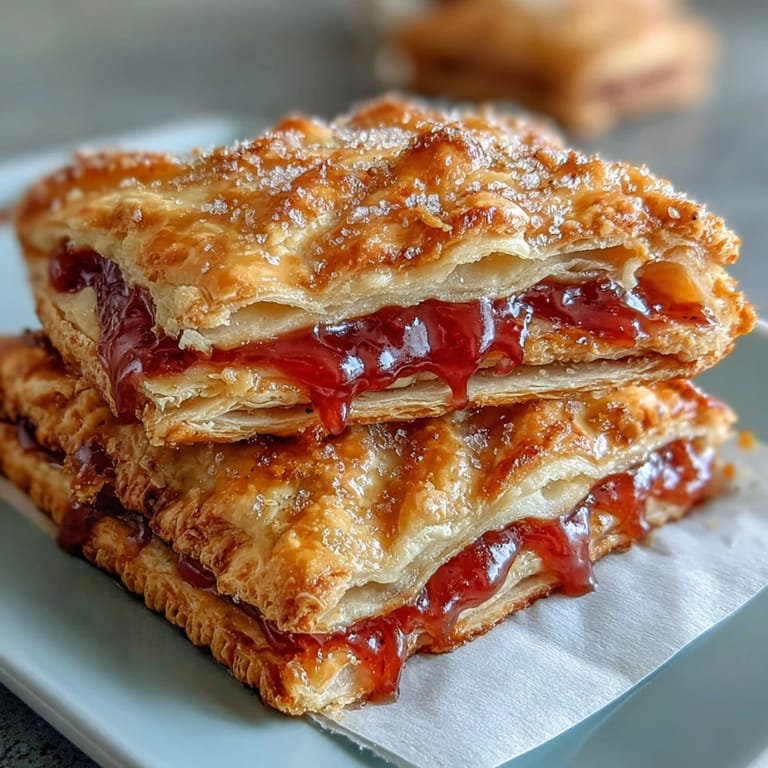
 There was a moment during that first batch when I pulled them from the oven and the whole kitchen filled with this smell of buttery pastry and tropical fruit, and I realized these weren't just a riff on a nostalgic snack—they were something entirely their own. My sister took one bite and texted the photo to their whole family group chat, and suddenly everyone wanted the recipe.
Why the Texture Matters
The magic of pop tarts happens in the layers, and keeping your butter cold and your hands quick is what creates them. I learned this the hard way by once letting my butter soften and ending up with dense, cake-like pastries instead of the crispy-flaky ones I'd imagined. The moment you feel the dough come together without overworking it is the moment you know you're on the right track. Trust that slight shaggy texture—the oven will do the rest.
Guava and Cream Cheese: The Perfect Pair
Guava is naturally sweet and a little tart, which means it needs something rich and slightly tangy to balance it. That's where cream cheese steps in—it softens the guava's intensity and adds a luxurious mouthfeel that elevates these from simple pastry to something you'd want to serve at brunch. The combination reminds me of the kind of flavors you'd find in a high-end bakery, except you made it yourself in your own kitchen.
Storing and Freezing Tips
These keep beautifully in an airtight container for up to three days, and they're actually better on day two when all the flavors have settled. I've found that freezing the assembled pop tarts (before baking) is even better than baking and freezing—just add a few extra minutes to the bake time and you have fresh pastries whenever you want them. It's like having a secret stash of homemade goodness waiting in your freezer.
- Freeze assembled pop tarts on a baking sheet first, then transfer to a freezer bag so they don't stick together.
- Baked pop tarts freeze too, but the pastry stays crispier if you freeze them unbaked.
- Bring frozen pop tarts to room temperature for 5 minutes before baking, or add 2 to 3 minutes to the bake time.
 Pin Recipe
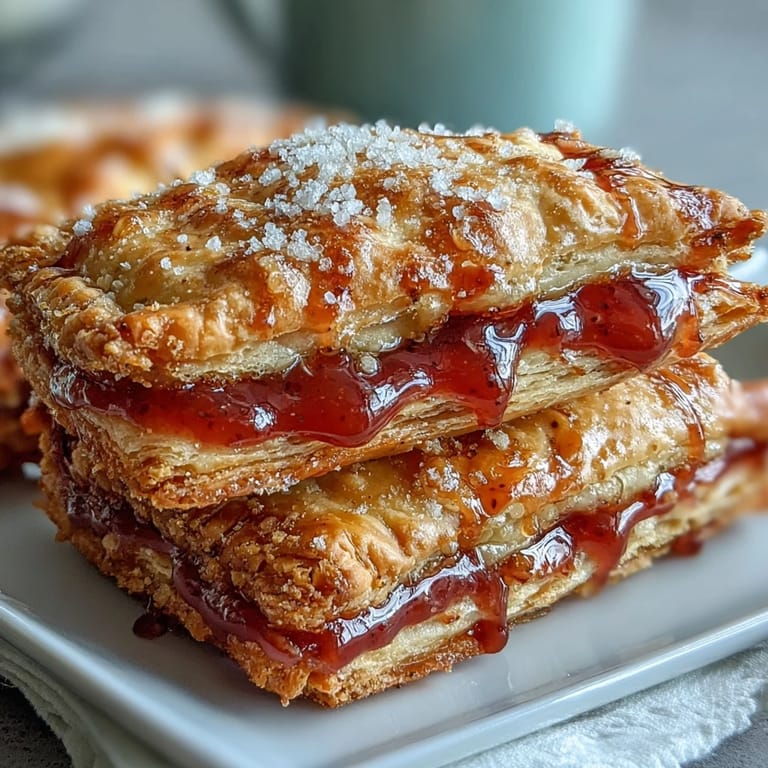
 These pop tarts have become my answer to the question of what to bring when I want to show up with something that tastes like love but doesn't require an all-day baking project. They're a reminder that homemade food doesn't have to be complicated to be memorable.
Recipe FAQs
- → Can I use fresh guava instead of guava paste?
Guava paste or thick guava jam works best as it provides the concentrated sweetness and thick consistency needed for the filling. Fresh guava would release too much liquid during baking and make the pastry soggy.
- → How do I prevent the filling from leaking during baking?
Ensure you seal the edges thoroughly by pressing with a fork and chill the assembled pastries for 10 minutes before baking. This helps firm up the butter in the dough and prevents the seams from opening.
- → Can I make these ahead of time?
You can prepare the dough and filling up to 2 days in advance. Store the dough wrapped in plastic in the refrigerator. Assemble and bake when ready, or freeze unbaked pastries for up to 1 month.
- → What other fruit fillings work well?
Strawberry, apricot, or mango jam are excellent alternatives to guava. The cream cheese pairs beautifully with most fruit preserves and curds.
- → Why is my dough tough instead of flaky?
Overworking the dough or using warm butter can cause toughness. Keep ingredients cold, mix just until combined, and avoid adding excess flour when rolling.