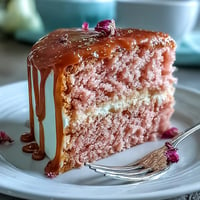
 Pin Recipe
 Sometimes the scent of melting chocolate drifting through the kitchen is enough to turn an ordinary afternoon into something quietly special. These homemade peanut butter Easter eggs first happened on a rainy spring day when I was bored, with nothing but pantry odds and ends. I remember the gentle satisfaction of shaping those eggs—my hands sticky, laughter echoing from the living room. Something about the ritual, the contrast of creamy peanut butter and snap of chocolate, made me want to share the batch with everyone I knew. It's a recipe that feels playful, and every bite still reminds me of the fun in small kitchen experiments.
One year, I brought a tray of these peanut butter eggs to an office spring potluck—everyone wanted to know the secret behind the smooth filling. Watching colleagues jockey for seconds felt a little like hosting my own Easter egg hunt, minus any grass stains or frantic searching. It was rewarding seeing their faces light up with surprise at how much better homemade tastes.
What's for Dinner Tonight? 🤔
Stop stressing. Get 10 fast recipes that actually work on busy nights.
Free. No spam. Just easy meals.
Ingredients
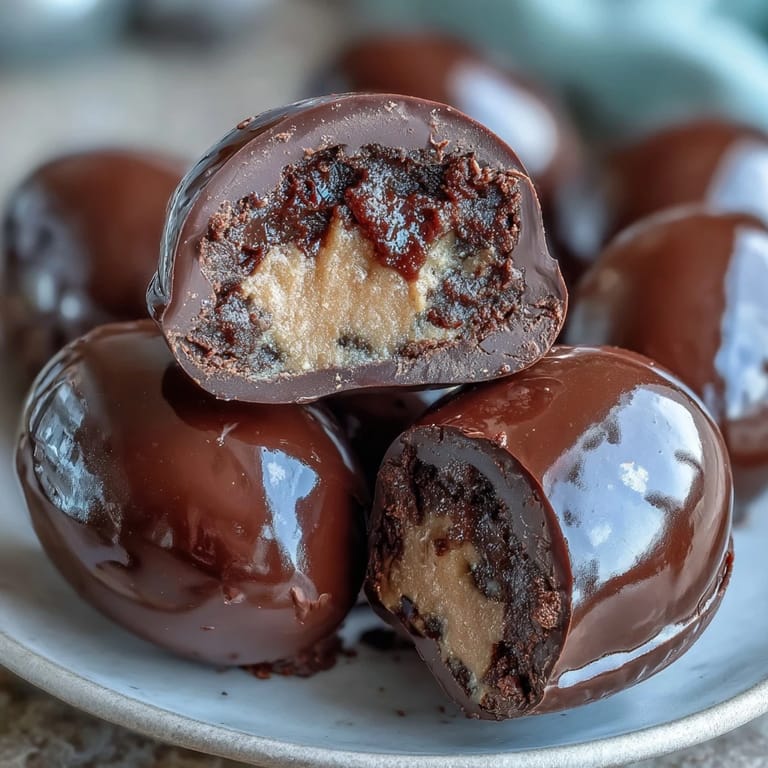
- Creamy peanut butter: Go for the classic, shelf-stable kind for structure—the natural varieties can make the filling too soft unless you adjust the sugar.
- Unsalted butter: Softened butter blends easily and adds that elusive, silky texture to the filling.
- Powdered sugar: This is what firms up the mixture; don’t panic if it seems dry, it always comes together with a bit of kneading.
- Vanilla extract: Just half a teaspoon brightens everything up—sometimes I sneak in an extra drop for warmth.
- Salt: Faint saltiness balances the sweetness so the eggs aren’t cloying.
- Semisweet or milk chocolate chips: Use your favorite—milk chocolate makes them sweeter, but semisweet lets the peanut butter shine.
- Coconut oil or vegetable shortening: This magic ingredient turns melted chocolate glossy and easier to coat with.
- Sprinkles or colored candy melts: Decorating is optional, but I love adding a pop of color (especially if little hands are helping).
Instructions
- Mix the filling:
- In a large bowl, beat the peanut butter, softened butter, vanilla extract, and salt until everything is creamy and combined. The aroma alone is worth pausing to enjoy before moving on.
- Add powdered sugar:
- Gradually mix in the powdered sugar, watching the dough transform from sticky to thick and pliable. If it feels tricky, use your hands to finish incorporating the sugar.
- Shape the eggs:
- Scoop about 2 tablespoons of the dough and roll into egg shapes—these aren’t meant to be perfect, so embrace wonky sizes. Arrange them on a parchment-lined baking sheet for easy cleanup.
- Freeze the eggs:
- Slide the tray into the freezer for 30 minutes until the eggs are firm enough to dip. This step keeps them from melting into the chocolate later.
- Melt the chocolate:
- Combine chocolate chips and coconut oil in a microwave-safe bowl, microwaving in 30-second bursts. Stir until silky smooth, resisting the urge to taste before dipping.
- Dip and coat:
- Grab each egg by a fork and dunk it in chocolate, letting the excess drip back into the bowl. Place coated eggs back on the parchment to set.
- Decorate the eggs:
- Add sprinkles or drizzle with candy melts while the chocolate is still soft. Work quickly—chocolate sets fast!
- Chill to set:
- Move the eggs to the fridge for at least 15 minutes so the coating hardens completely. The pep of anticipation is half the fun.
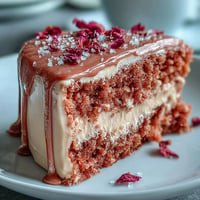
 Pin Recipe
 Once, my youngest cousin insisted we make these together—halfway through, our hands were covered in chocolate and laughter, making every step messier and more memorable than the last. It was the first time dessert felt like an adventure, something we created together rather than just baked for a crowd.
Decorating Ideas That Work Every Time
Letting kids pick their decorations turns this recipe into a hands-on party. I found if you set out several bowls—sprinkles, colored sugar, mini candies—the eggs end up wonderfully unique. Even adults get competitive, trying to craft the prettiest or most colorful treat. It’s less about perfection, more about creativity, and the finished eggs show it.
How to Store for Lasting Freshness
These peanut butter eggs keep their flavor and texture best in an airtight container, layered with parchment. After more than two weeks, the chocolate can get a tad waxy, so they're never around that long in my house. Chilled eggs are firmer and easier to slice if sharing.
Troubleshoot Like a Pro (and Avoid Sticky Mishaps)
I once forgot to freeze the eggs long enough and ended up with peanut butter blobs swimming in melted chocolate—it looked wild but still tasted good. Since then, I always double check the freezer timer and clear space! If your chocolate seems lumpy, just add another teaspoon of coconut oil and reheat.
- Dusting hands with powdered sugar helps shape sticky dough.
- If eggs seem too soft, chill them longer before dipping.
- Use two forks for easier chocolate coating and less mess.
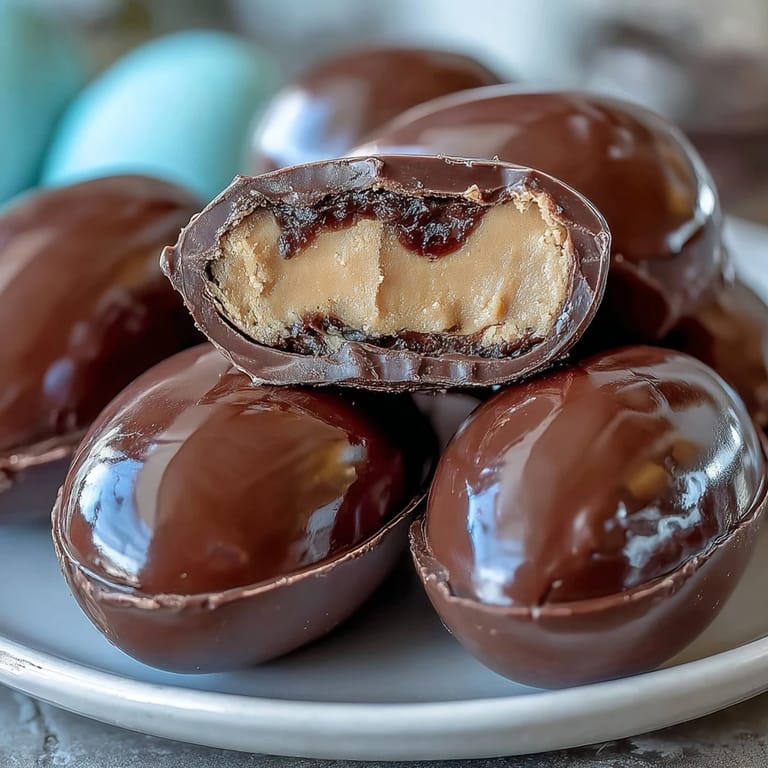
 Pin Recipe
 Every batch feels like a celebration—whether you share them or stash them away for yourself. There’s something warming about making these eggs side by side, and I hope they bring a bit of joy to your spring days too.
Recipe FAQs
- → Can I use crunchy peanut butter?
Yes, using crunchy peanut butter adds texture and a pleasant bite to the filling. Adjust to your preference.
- → How do I prevent the eggs from sticking?
Placing eggs on parchment paper during shaping and dipped stages helps avoid sticking to surfaces.
- → What chocolate works best for coating?
Semisweet, milk, or even dark or white chocolate chips melt smoothly for easy coating and delicious flavor.
- → How long do these eggs keep?
Store in an airtight container in the refrigerator; they stay fresh for up to two weeks.
- → Are there decorating alternatives?
Sprinkles or colored candy melts offer fun decoration options. Customize for holidays or special occasions.
- → What tools are needed?
You'll need mixing bowls, an electric mixer or spoon, a baking sheet, parchment paper, a microwave-safe bowl, and a fork.