 Pin Recipe
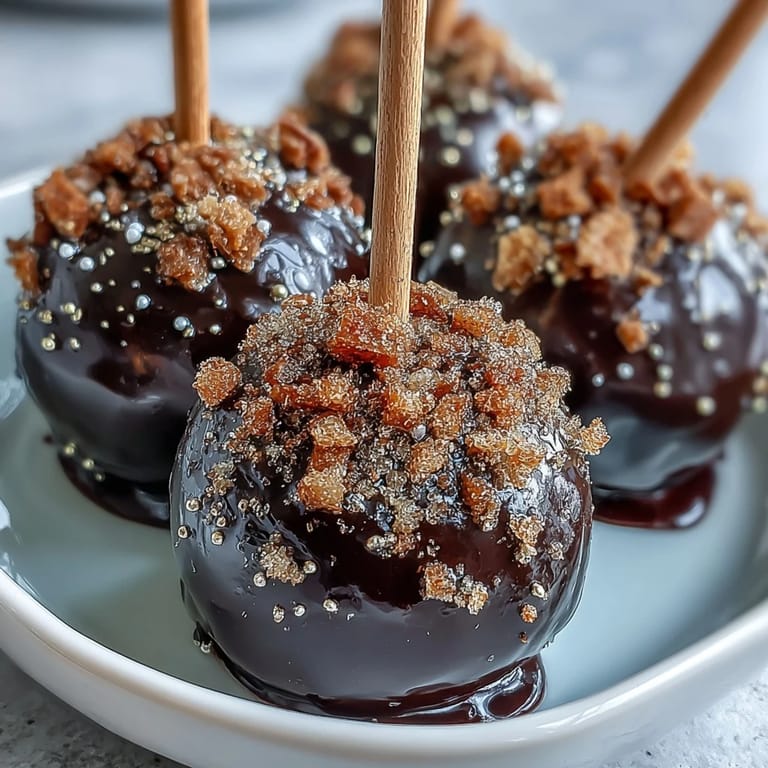
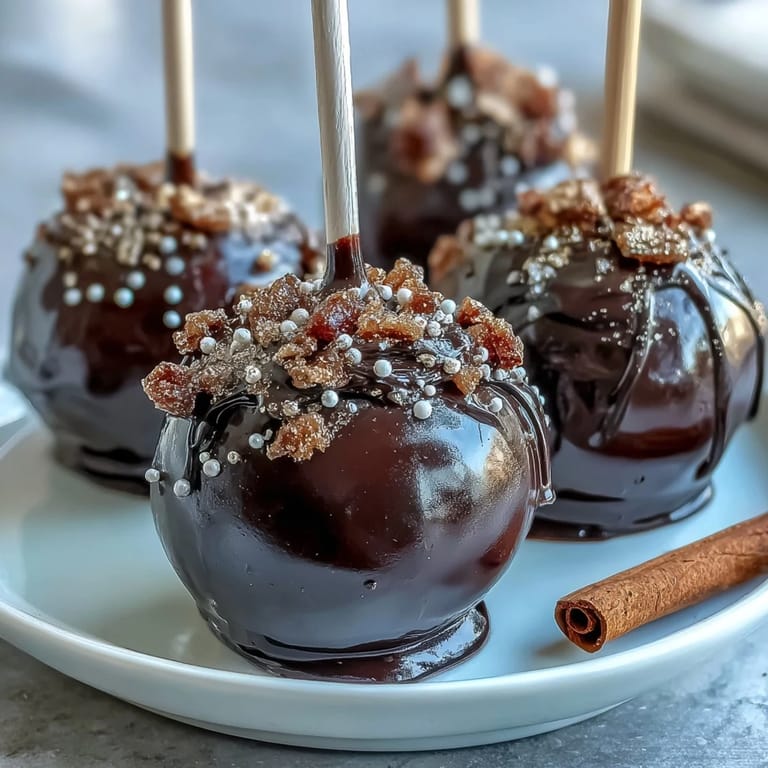
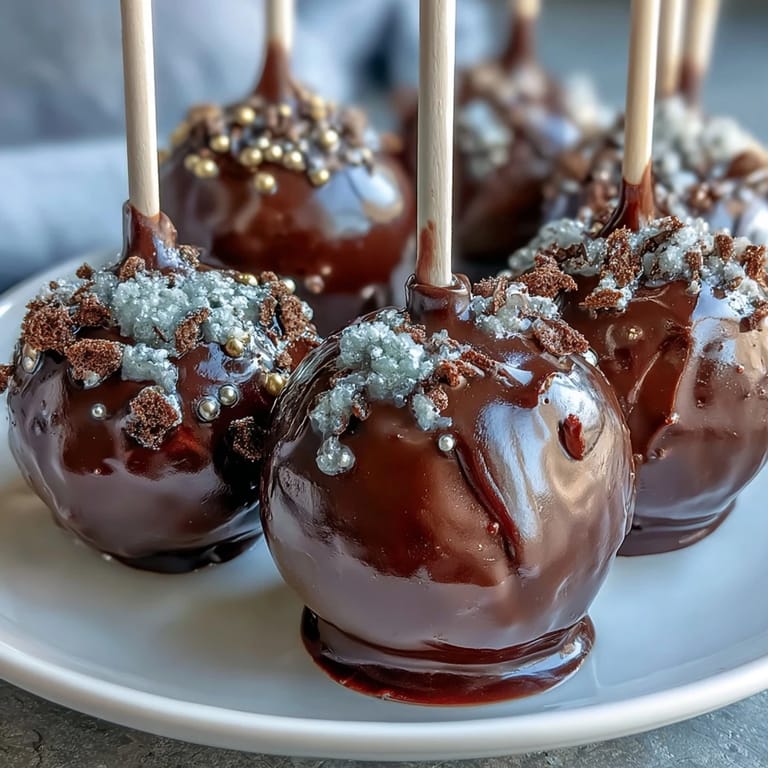
 My neighbor showed up at my door one March afternoon with a box of these gleaming cake pops, and I was immediately enchanted by how whimsical they looked—little black pots overflowing with edible gold. She admitted she'd made them on a whim for her daughter's school party, and watching her describe the process with such genuine joy made me want to try them myself. That evening, my kitchen smelled like chocolate and possibility, and I realized these weren't just desserts; they were tiny celebrations you could hold in your hand.
I made my first batch on a rainy St. Patrick's Day when my kids were home from school, and they insisted on helping with the decorating. Watching their faces light up as the gold sprinkles cascaded onto the black coating reminded me that sometimes the best kitchen moments happen when you're not taking things too seriously. We laughed when one cake pop got stuck to someone's finger, and that imperfect batch turned into the favorite memory of the whole afternoon.
What's for Dinner Tonight? 🤔
Stop stressing. Get 10 fast recipes that actually work on busy nights.
Free. No spam. Just easy meals.
Ingredients
- 1 box chocolate cake mix (plus eggs, oil, and water as required): Using a mix saves time and ensures consistent results; homemade cake works beautifully too if you prefer, just make sure it's completely cool before crumbling.
- 120 g chocolate frosting: This is the binding agent that turns cake crumbs into moldable dough, so don't skip it or try to substitute with whipped frosting, which won't hold shape.
- 400 g black candy melts: These melt smoothly and create that signature pot appearance; if you can't find them, black chocolate works but sets differently.
- 48 g gold sprinkles or edible gold pearls: The gold is what catches the light and makes these special, so choose quality sprinkles that won't look dull.
- 24 lollipop sticks: These become handles and anchors, so make sure they're food-safe and sturdy enough to support the weight.
- 50 g white candy melts (optional): Perfect for adding a decorative rim that makes each pot look more finished.
- Green fondant or sprinkles (optional): A touch of green adds that St. Patrick's Day charm if you want extra festive detail.
Instructions
- Bake and cool your cake:
- Follow the box instructions carefully, and this is where patience pays off—let the cake cool completely or the crumbs will be too warm to work with. I learned this the hard way when my first batch turned into melted frosting soup.
- Create the cake crumb mixture:
- Crumble the cooled cake into fine, consistent pieces, then fold in the chocolate frosting until you have something that holds together like dough. It should feel slightly sticky but not wet.
- Shape your pots:
- Roll the mixture into balls about the size of a golf ball, then gently flatten the tops so they resemble actual pots. A light touch matters here; you want them to hold their shape without becoming dense.
- Chill the cake balls:
- Thirty minutes in the refrigerator firms them up so they won't fall apart when you dip them. This step feels tedious, but it makes everything that follows infinitely easier.
- Prepare your sticks:
- Dip the tip of each lollipop stick into melted black candy melts, then insert it about halfway into each cake ball. The melted coating acts like glue, anchoring the stick securely.
- Set the sticks:
- A quick 10-minute chill ensures the sticks won't pull out when you dip the whole cake pop. This small wait prevents frustration later.
- Dip into the black coating:
- Work quickly and confidently when you dip each cake pop into the melted black candy melts, letting excess drip off gently. Stand them upright in a styrofoam block or cake pop stand immediately so the coating sets evenly.
- Add the gold while wet:
- This is the crucial moment—sprinkle the gold generously over the top of each still-warm cake pop so it clings to the coating. If you wait until it sets, the gold won't stick as beautifully.
- Add finishing details (optional):
- Once the black coating has set, you can pipe a delicate rim around the top with melted white or black candy melts for extra elegance. A fondant shamrock or green sprinkle completes the festive look.
- Let them set completely:
- Give them at least an hour at room temperature before serving or storing so everything hardens fully and holds together perfectly.
 Pin Recipe
 There's something genuinely magical about watching someone bite into one of these for the first time and see their expression shift from curiosity to pure delight. That's when you realize these little cake pops aren't just about the taste—they're about creating a moment of wonder, and that's worth the careful work.
Making Them Ahead
I've found that making these the day before an event takes so much pressure off. They store beautifully in an airtight container at room temperature, and honestly, I think the coating and flavors meld a bit overnight, making them even more delicious. Just make sure they're completely cool and set before stacking them, or the coating can stick to the container.
Customizing Your Cake Pops
While these are designed for St. Patrick's Day, you can easily change the theme by switching colors—red and white for Christmas, orange and black for Halloween, or pastels for spring celebrations. The technique stays exactly the same, which makes this recipe wonderfully versatile once you've made it once. I've experimented with different cake flavors too, and chocolate is classic, but vanilla or Irish cream would be absolutely delicious.
Decorating Secrets and Troubleshooting
Sometimes a cake pop won't sit straight in the styrofoam block, and I've learned to poke the hole slightly larger or angle the stick a tiny bit differently. The candy melts can also be finicky—if yours seems too thick, add a teaspoon of coconut oil to thin it just enough without compromising the coating. One more thing I discovered: if your gold sprinkles are sinking into the black coating instead of sitting on top, the coating might be too warm, so let it cool for a minute before decorating.
- If a cake pop loses its stick during dipping, you can carefully re-insert it or skip the stick and serve it on a small plate for a slightly different presentation.
- Store any leftover candy melts in a cool place and remelt them gently for the next batch—they're expensive enough that wasting them feels like a crime.
- Green fondant can be finicky to roll, so keep it warm and pliable; if it cracks, a tiny bit of water smoothed gently over the crack usually fixes it.
 Pin Recipe
 These little pots of gold remind me that celebration food doesn't have to be complicated to feel special—sometimes it just needs a touch of thoughtfulness and a bit of sparkle. Make these and watch them disappear from the plate almost as fast as they appeared.
Recipe FAQs
- → What type of cake mix works best?
A rich chocolate cake mix provides a moist crumb that holds together well when combined with frosting.
- → How can I ensure the cake balls hold their shape?
Mix the cake crumbs thoroughly with frosting until a dough-like consistency is achieved, then chill before dipping.
- → What is the best method for dipping in candy melts?
Melt the candy melts smoothly, dip each cake ball completely, and let excess drip off before setting upright to dry.
- → Can these be prepared ahead of time?
Yes, store them in an airtight container at room temperature for up to three days without losing freshness.
- → How to add decorative green accents?
Use green fondant or sprinkles shaped like shamrocks to add a festive touch before the coating fully sets.