 Pin Recipe
 There's something almost magical about laminated dough, and when I discovered sourdough croissants, I realized I'd been missing out on the tanginess that transforms a good croissant into something genuinely craveable. My kitchen smelled like a Parisian bakery for three days straight during my first attempt, butter and fermented dough creating this warm, complex perfume that had my neighbors asking questions. The overnight rest isn't just technique—it's permission to slow down and let time do half the work for you.
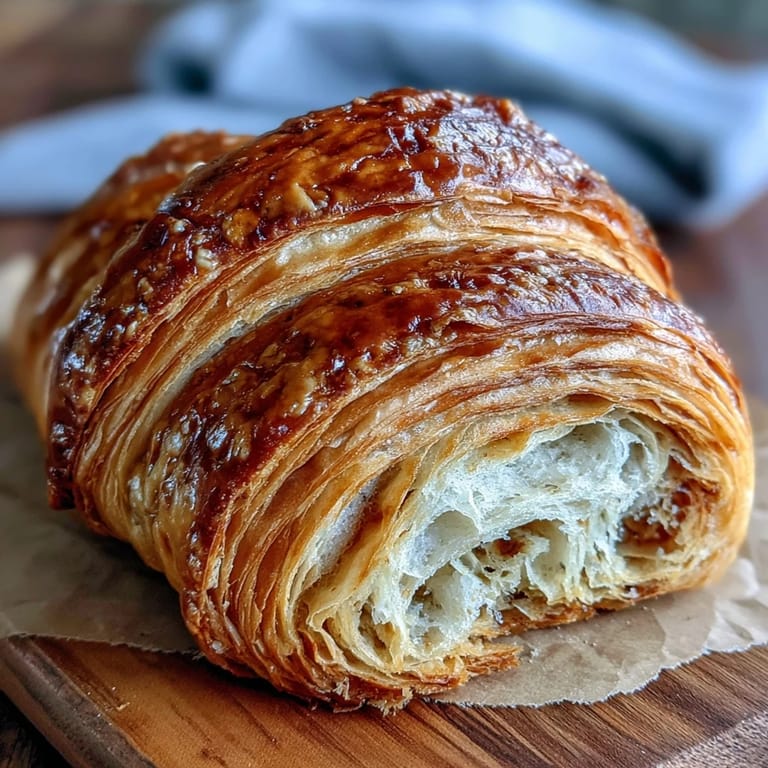
I made these for my book club on a Saturday morning, and watching everyone's faces when they bit through the shatter-crisp exterior into those impossibly thin, buttery layers was worth every fold and every hour of chilling. One friend actually closed her eyes, and someone asked if I'd bought them from a professional bakery—which felt like the highest possible compliment. That moment solidified for me that good pastry is patient work with immediate joy.
What's for Dinner Tonight? 🤔
Stop stressing. Get 10 fast recipes that actually work on busy nights.
Free. No spam. Just easy meals.
Ingredients
- Bread flour (500 g): The higher protein content gives structure to all those delicate folds, preventing the dough from tearing when you're laminating.
- Granulated sugar (60 g): Just enough to feed the sourdough starter and add a whisper of sweetness without making these cloying.
- Fine sea salt (10 g): Enhances gluten development and rounds out the tangy sourdough flavor beautifully.
- Cold whole milk (240 ml): Keep it cold straight from the fridge; warmth at this stage is your enemy because you're about to add butter.
- Active sourdough starter at 100% hydration (100 g): This should be bubbly and at peak or just past peak; if yours smells like paint thinner, feed it and wait a few hours.
- Unsalted butter for the dough (30 g): Just enough to enrich without interfering with the lamination process.
- Cold unsalted butter for the block (250 g): This is your lamination butter and it must be cold but pliable; rock hard butter will shatter, too soft and it'll merge into the dough instead of creating distinct layers.
- Egg wash (1 large egg plus 1 tbsp milk): Brush this on just before baking for that shiny, professional-looking golden finish.
Instructions
- Mix the base dough:
- Combine flour, sugar, and salt in a large bowl, then add cold milk, your bubbly sourdough starter, and softened butter. Mix until everything is incorporated, then knead for about eight minutes until the dough feels smooth and elastic; it should be slightly sticky but hold together when you shape it. You're building the gluten network that will support all those folds.
- First chill:
- Shape your dough into a rectangle, wrap it tightly in plastic wrap, and refrigerate for at least two hours, though overnight is even better. This resting period relaxes the gluten and cools everything down before you introduce the butter block.
- Prepare the butter block:
- Place your cold 250 g butter between two sheets of parchment paper and pound it with a rolling pin until it's roughly flattened, then roll it into a 20 by 15 centimeter rectangle. It should be firm but still pliable; if it cracks at the edges, it's too cold, so let it sit for a minute or two. Chill it again until it's the same consistency as your dough—this is crucial for even lamination.
- Laminate—first step:
- On a lightly floured surface, roll your chilled dough into a 40 by 20 centimeter rectangle, then place the butter block on one half of the dough. Fold the uncovered half over the butter, seal the edges, and you've created your first envelope.
- First turn:
- Rotate the dough 90 degrees and roll it out to 60 by 20 centimeters, then fold it into thirds like a letter—that's your first turn. Wrap it, chill for an hour, and know that you've already created the beginning of those beautiful layers.
- Second and third turns:
- Repeat the rolling, folding, and chilling process two more times, always rotating 90 degrees and always folding into thirds. Each turn exponentially multiplies your layers; after three turns, you've got thousands of delicate butter and dough sheets waiting to become flaky.
- Overnight rest:
- After your third and final fold, wrap the dough and chill it overnight for eight to twelve hours. This extended rest develops flavor from the sourdough starter and gives the gluten time to truly relax, making your croissants more tender.
- Shape the croissants:
- The next morning, roll your chilled dough into a 60 by 30 centimeter rectangle about five millimeters thick. Using a sharp knife, cut it into twelve long triangles by cutting lengthwise in half, then cutting diagonally.
- Roll and curl:
- Starting from the wide end of each triangle, roll tightly toward the point, then curve the rolled triangle into a crescent shape with the point tucked underneath. Place each one on parchment-lined baking sheets as you go.
- Final proof:
- Cover the croissants loosely with plastic wrap and let them proof at room temperature until they've roughly doubled in size, which usually takes two to three hours. They should feel pillowy and light when you gently touch them.
- Egg wash and bake:
- Preheat your oven to 200°C (400°F), whisk together your egg and milk for the egg wash, and brush it lightly over each croissant just before baking. Bake for eighteen to twenty-two minutes until they're deep golden brown and absolutely crispy.
- Cool briefly:
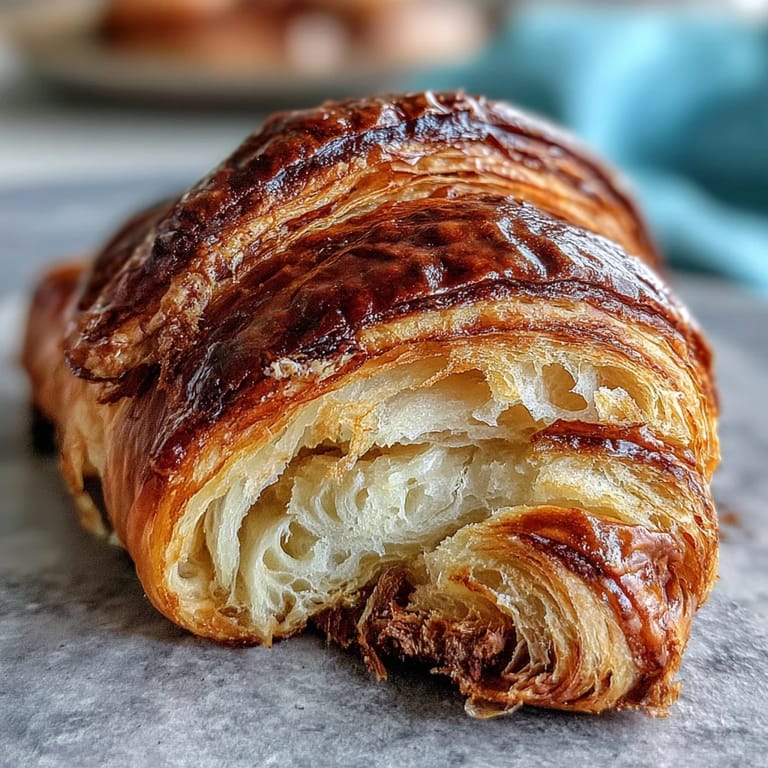
- Let them cool for just a few minutes on the baking sheet before transferring them to a cooling rack. They'll firm up as they cool, and that's when the real magic happens—the contrast between the shattered exterior and those tender, buttery layers inside.
 Pin Recipe
 I once forgot to rotate the dough during my second turn and got croissants that were flaky on one side and chewy on the other, which taught me that lamination is almost meditative in its precision. It didn't ruin breakfast, just reminded me that even imperfect croissants with that sourdough tang are still infinitely better than most people will ever experience.
Understanding Lamination
Lamination is simply the technique of folding butter into dough repeatedly to create hundreds of thin layers that separate during baking and puff up into flakes. When your oven's heat hits those layers, water in the dough turns to steam, butter melts and creates space, and you end up with something that shatters and crackles under your teeth. The sourdough starter adds fermentation time that strengthens the gluten, making it more resilient through all those folds.
The Sourdough Difference
Using sourdough starter instead of commercial yeast gives these croissants a complexity that haunts you in the best way—that subtle tang that makes you keep reaching for another one even when you're already full. The fermentation also happens more slowly, which means better flavor development and a crust that caramelizes beautifully. I've made them with instant yeast before, and while they were good, they tasted like every other croissant ever made.
Making Them Ahead and Variations
You can freeze shaped, unproofed croissants for up to two weeks, then proof them straight from the freezer (add about an hour to proofing time) and bake as usual—perfect for having fresh croissants without the all-day commitment. They're also a canvas for creativity: I've filled mine with dark chocolate, almond paste, or a mixture of grated Gruyere and fresh thyme before rolling.
- For a savory breakfast, tuck a thin slice of jambon de Paris or aged Emmental inside before rolling up each triangle.
- If vanilla sounds good to you, add a teaspoon to the dough for a subtle sweetness that doesn't compete with the sourdough tang.
- Leftovers can be split horizontally and toasted in the oven with butter, then filled with jam or pastry cream for a different meal entirely.
 Pin Recipe
 Making sourdough croissants teaches you that time and butter are the two ingredients that matter most, and that patience in the kitchen almost always pays off. Once you've mastered these, you'll find yourself making them regularly, watching friends' and family's faces light up with that first bite.
Recipe FAQs
- → Why is an overnight rise important?
The extended rise allows natural fermentation to develop deeper sour notes and improves dough texture for flakiness.
- → How do I achieve flaky layers?
Multiple folds with chilled butter incorporated create distinct layers that puff and separate when baked.
- → Can I substitute bread flour?
Bread flour is ideal for strong gluten structure; all-purpose flour may yield softer croissants but less rise.
- → What temperature should the oven be?
Bake at 200°C (400°F) for a crisp, golden crust and fully cooked interior.
- → How long should I proof the croissants before baking?
Proof at room temperature until doubled in size, typically 2–3 hours, to ensure lightness.