 Pin Recipe
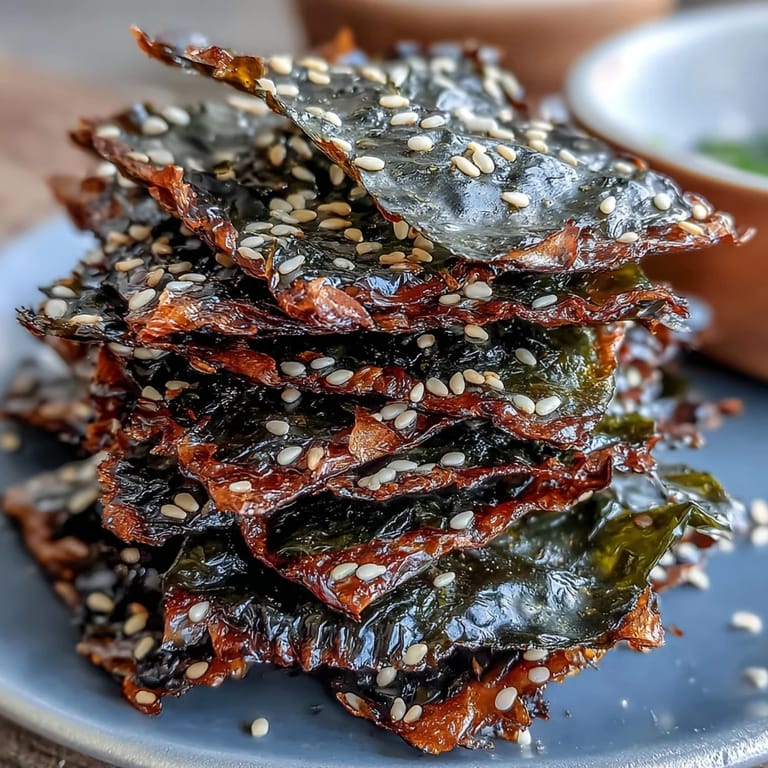
 The first scent that hit me when I opened the sesame oil was enough to make my stomach rumble. I didn’t set out planning to make seaweed chips—honestly, it was more of a spontaneous raid-the-pantry kind of afternoon. I found myself humming along to the radio, sesame seeds pinging with each little shake onto the glossy green nori. There was nothing performative about it, just the quiet excitement that happens when you know you're making something light yet impossibly moreish. The oven’s gentle hum and those salty aromas had me stealing pieces straight from the tray, barely giving them time to cool.
Last spring, I made several batches for a game night, cautiously doubling the recipe—only to find the bowl empty before we even started playing. My friends kept asking if I was hiding more in the kitchen. There’s something mischievous about setting out chips that look delicate but pack a punch of flavor. Someone cracked a joke about these being secretly addictive, and I didn’t even try to protest. It’s the kind of snack that quietly steals the show.
What's for Dinner Tonight? 🤔
Stop stressing. Get 10 fast recipes that actually work on busy nights.
Free. No spam. Just easy meals.
Ingredients
- Roasted nori sheets: The foundation—choose fresh, unbroken sheets for the best crunch and flavor.
- Toasted sesame oil: Adds a nutty richness; a thin layer is all you need for flavor and the distinctive sheen.
- Sea salt: Go for flaky or fine sea salt; sprinkle sparingly—nori amplifies saltiness.
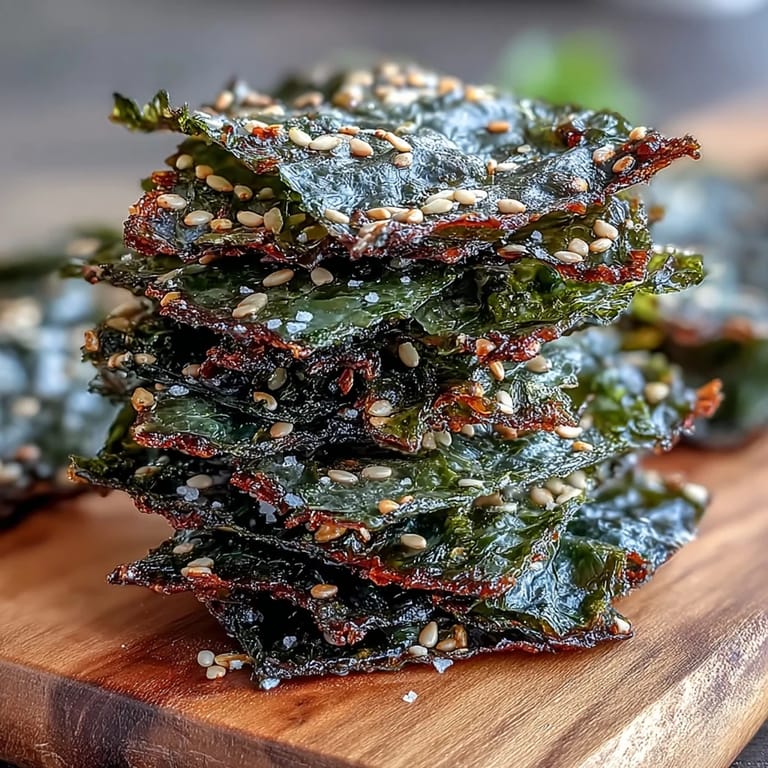
- Toasted sesame seeds: Scatter generously; they'll stick better if you press them in lightly.
- Garlic powder (optional): A pinch brings a savory boost, but don’t overdo it or you’ll mask the nori’s briny flavor.
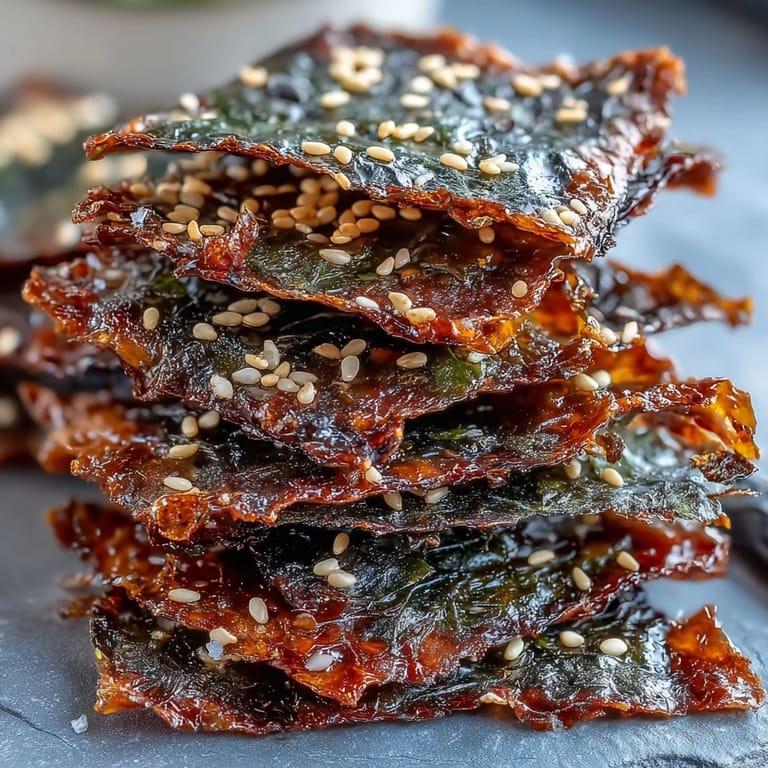
- Chili flakes (optional): Perfect if you like a little heat; they add color and a subtle kick.
Instructions
- Prep your oven and sheet:
- Preheat it to 150°C and line your baking tray with parchment—grease sticks to nori in a way you don’t want.
- Layer and season:
- Stack two nori sheets, brush the top with sesame oil, then dust with sea salt and sprinkle with sesame seeds. If you’re feeling adventurous, add garlic powder or chili flakes here.
- Sandwich and press:
- Lay the second nori directly on top and give it a gentle press to help everything adhere. Keep your hands dry to avoid tearing.
- Slice to size:
- Use sharp kitchen scissors to cut them into crisp-friendly rectangles or quirky triangles.
- Arrange for baking:
- Lay out the pieces in a single layer, making sure none overlap so they cook evenly.
- Bake and watch:
- Bake for 12–15 minutes, flipping at the halfway mark. Keep a close eye—they go from crisp to overly toasted in seconds.
- Cool for crispness:
- Let them cool right on the tray; they'll firm up as they lose steam. Store only when totally cool for lasting crunch.
 Pin Recipe
 I’ll never forget the time I packed these for a picnic—my nephew ended up trading his share for extra cookies, but fifteen minutes later, he was sheepishly circling back for another handful. The grown-ups swapped flavor ideas, and a cousin proposed crumbling the chips over salads, which turned out to be one of my new favorite ways to use them. It’s funny how quickly these became part of our snacking rotation. My partner has started requesting 'those nori things' as movie night must-haves. That’s the moment I realized these chips had become a bit of a family staple.
Playing With Flavors
Once I mastered the classic batch, I started experimenting—furikake for extra umami, a dusting of smoked paprika for depth, and even a sprinkle of lemon zest for brightness. Each small twist made the chips feel new again, and it’s become a little kitchen tradition to tweak the recipe based on who’s coming over. My favorite part is letting guests choose their finishing seasoning right before baking. Customizing these chips is half the fun. Our kitchen counter has never seen so many bottles in play at once.
Keeping Chips Crisp
Humidity is the enemy of great seaweed chips. Sometimes, a rush to store them early has led to a sad, soggy heap by evening, which was frankly heartbreaking after nailing the bake. Now, I wait for the chips to cool completely before sealing the container. If you live in a moist climate, you can even add a little packet of silica gel (like from seaweed packages) to your storage box. A little patience protects all that delicate crunchiness.
Serving & Pairing Ideas
Besides solo snacking, these chips make unexpectedly elegant toppers for grain bowls and poke. Even friends who claim they don’t like seaweed end up eating more than their share once the chips are set out. Try offering them alongside cucumber slices and avocado for a lighter party platter.
- Cut chips into varied shapes for fun presentation.
- Pair with cold sparkling drinks to amplify the salty crunch.
- Store any leftovers in the darkest, driest spot you can find.
 Pin Recipe
 Sometimes, the best snacks are the ones you pull together in under half an hour. I hope these seaweed chips make as many happy snackers around your table as they have at mine.
Recipe FAQs
- → How do I keep the chips crisp?
Cool the baked pieces fully on the baking sheet, then transfer to an airtight container. Ensure they are completely dry before storing and avoid humid environments to maintain crunch.
- → Can I make them spicier?
Yes — sprinkle chili flakes or a light dusting of cayenne before baking, or add chili oil to the sesame oil for a more even heat.
- → What's the best oven temperature and time?
Bake at 150°C (300°F) for about 12–15 minutes, flipping once halfway. Watch closely near the end to prevent browning or burning.
- → Are there easy seasoning variations?
Try furikake for umami, smoked paprika for depth, or a touch of garlic powder. Toasted sesame seeds add nuttiness and texture.
- → Can I substitute ingredients for allergens?
Sesame is the main allergen here; omit sesame seeds or replace sesame oil with neutral oil if needed. Check nori packaging for cross-contamination warnings.
- → How should I cut the seaweed sheets?
Stack two sheets, press lightly, then use kitchen scissors or a sharp knife to cut into small rectangles or triangles (about 2 x 5 cm) for even baking.